
Browser-based 3D works when a spatial or equipment decision is difficult to teach consistently through text, slides or occasional access to the real asset. It is not a substitute for every practical task.
1. The browser becomes the training environment
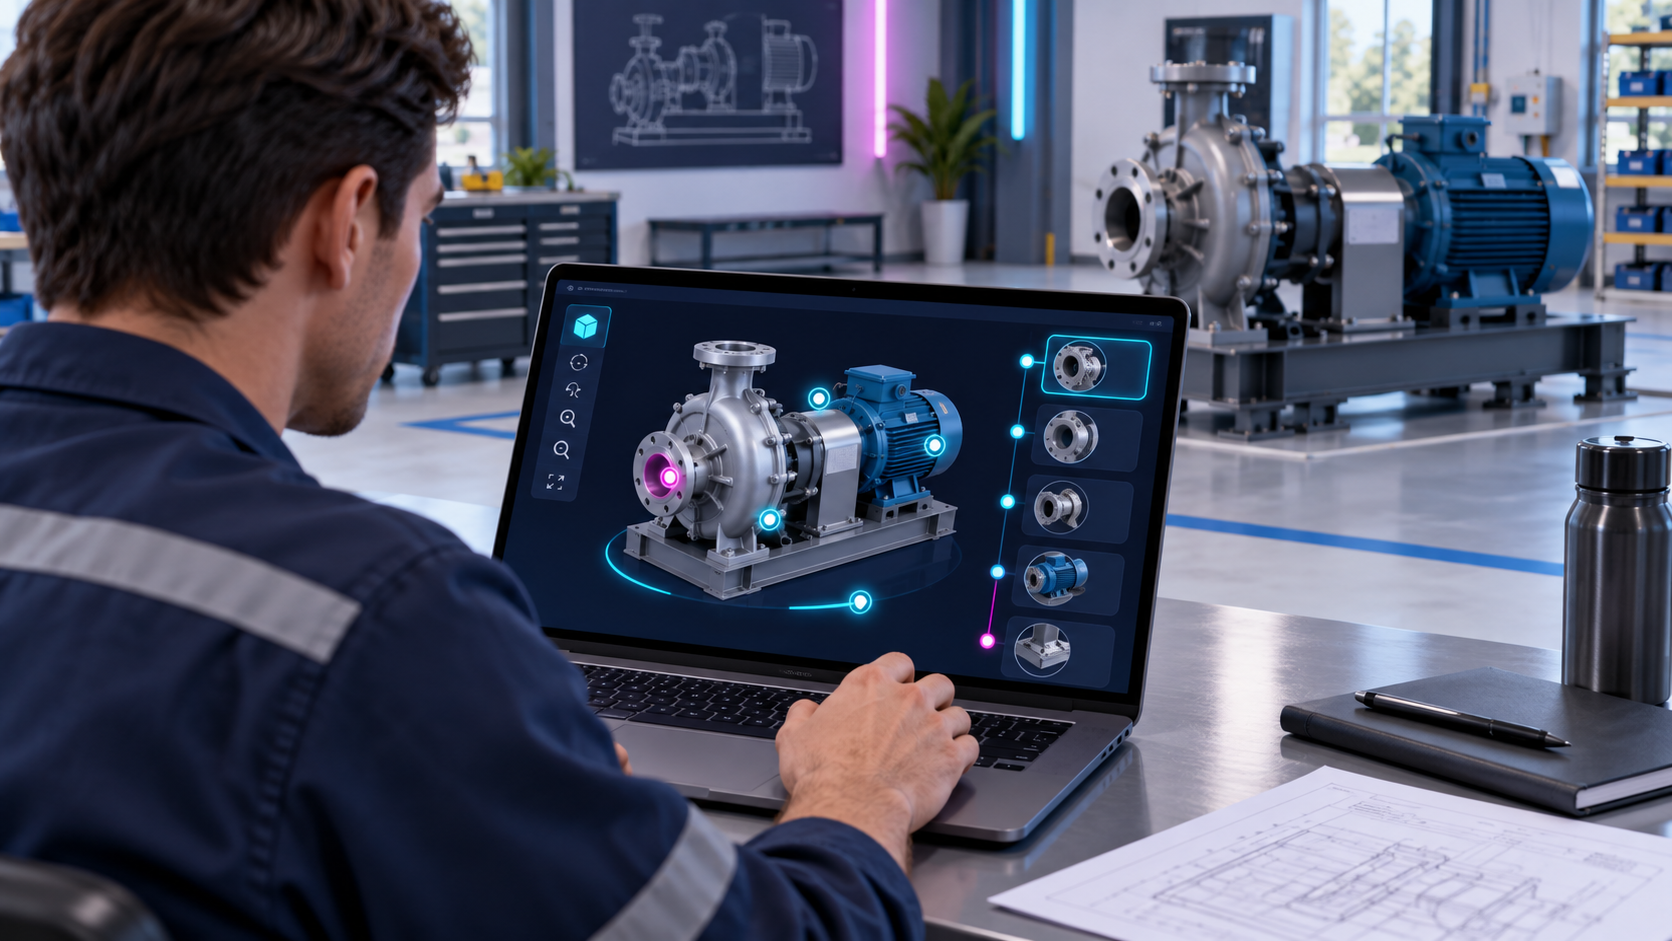
Browser-based 3D training displays an interactive equipment model inside a standard web page. The learner opens a link on a supported computer or tablet, navigates around the model and interacts with defined parts, controls or work areas. No headset is required. The experience can sit inside an LMS, launch from a learning portal or be delivered through a controlled web link, depending on authentication, reporting and deployment requirements.
The browser does not reproduce the full sensory experience of standing beside the machine. Its value is different: every learner can inspect the same approved representation, repeat the same procedure and practise recognising conditions that may be difficult, expensive or unsafe to arrange on demand. Labels, cutaways, highlights, animation and guided camera positions can reveal relationships that are not obvious in a photograph or classroom slide.
A 3D environment is therefore a delivery mechanism, not a learning objective. It should be selected because spatial understanding, equipment recognition or sequence practice is central to the task—not because a three-dimensional model looks impressive.
Without a headset, the learner can still explore spatial relationships, operate defined controls and practise decisions in a consistent digital environment.
Optimise an approved CAD file or create the required model.
Identify parts, states, actions and decision points.
Add guidance, interactions, feedback and assessment.
Publish for supported browsers and reporting systems.
2. Start with the learning view, not the engineering model
Engineering CAD often contains more geometry and detail than a browser-based lesson needs. A production model may expose proprietary information, include internal components that are irrelevant to the task or be too heavy for reliable delivery. The first design decision is what the learner must see and manipulate. That determines which assemblies remain, which surfaces need texture, which parts require animation and which details can be removed.
The team should agree the equipment variant, approved visual references, required viewpoints and any sensitive elements before optimisation begins. When no suitable model exists, the equipment can be reconstructed from drawings, photographs and dimensional references, but accuracy expectations must be explicit. A model used for orientation may not require the tolerances of an engineering visualisation. A model used to identify a specific isolation point needs that location and appearance verified by an authorised reviewer.
The review route matters because a visually polished model can still teach the wrong component, label or sequence. Approve the learning-critical geometry before investing in animation and interaction.
3. Turn equipment into guided observation, action and feedback
The simplest interaction is guided exploration: rotate, zoom and select highlighted components. This supports orientation and terminology. A more applied activity removes the highlight and asks the learner to locate the component from a maintenance instruction, risk condition or operating objective. Sequence practice can require the learner to operate controls in an approved order. Diagnostic practice can present a visual state and ask what should be checked next.
Feedback should explain the equipment consequence, not only the interface mistake. Selecting the wrong isolation point might show which system remains energised. Skipping an inspection might reveal the condition that would be missed. The consequence must come from approved operational logic. Visual drama should never invent behaviour that the equipment does not have.
Browser interaction is well suited to repeatable preparation, refresher practice and assessment of visual recognition or procedural decisions. It does not provide force feedback, physical reach, tool handling or the environmental conditions of the workplace. Those elements remain part of supervised practical training where required.
Interactive 3D TrainingReview applications, delivery options and pilot scope →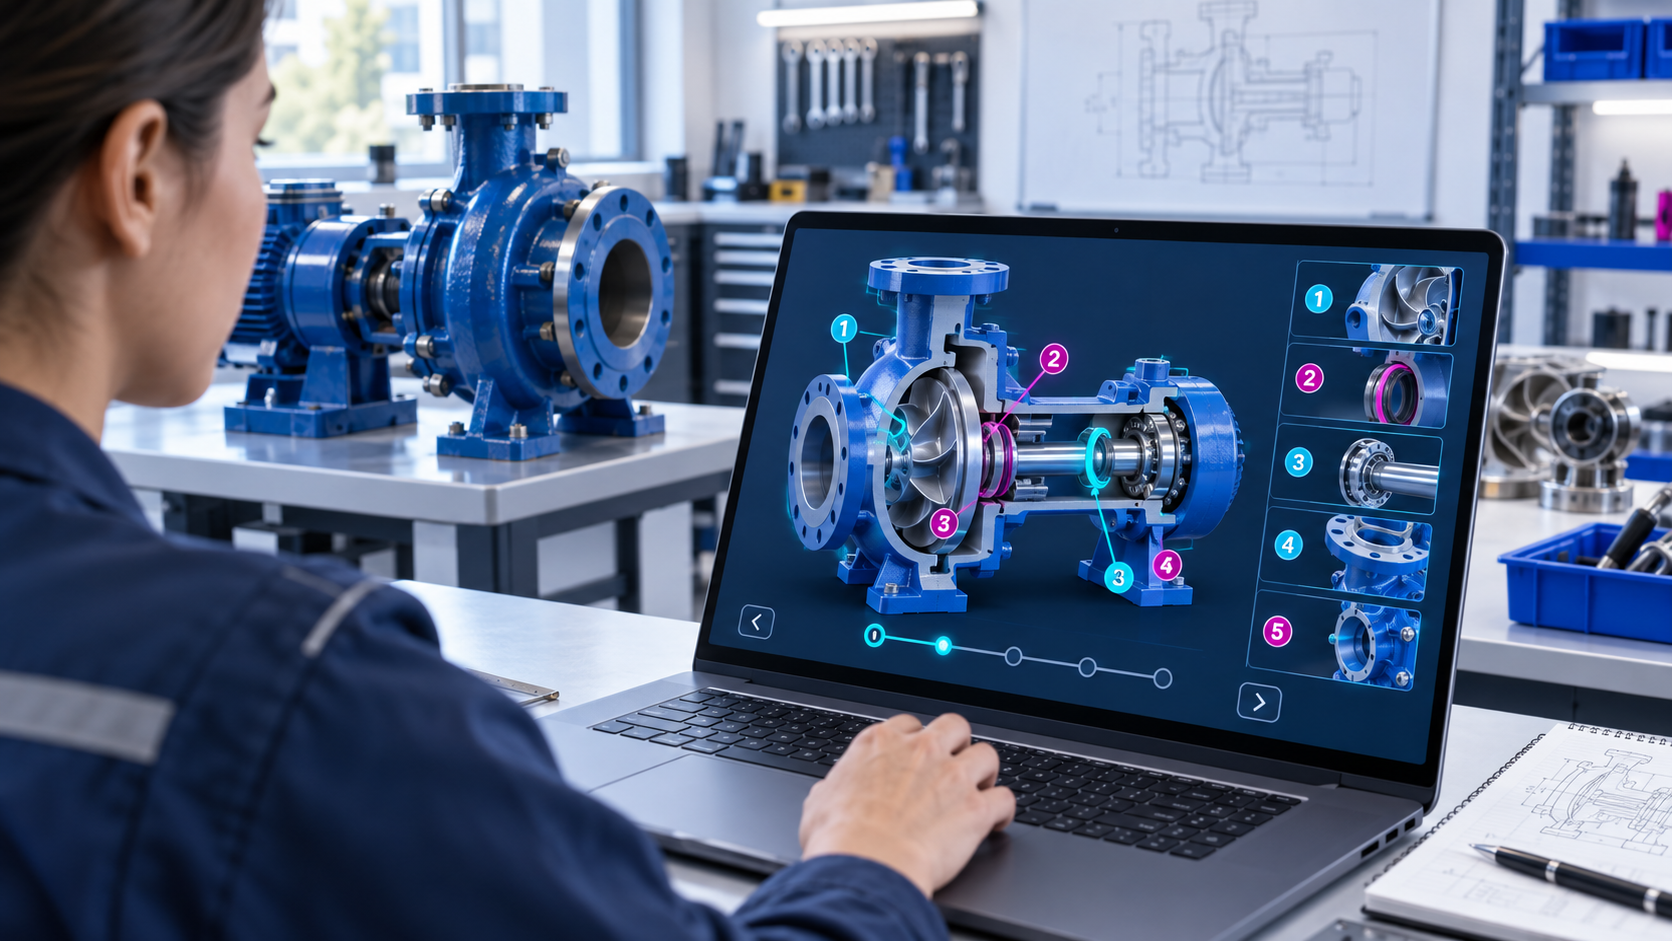
4. Design for the real browser, network and device
A desktop workstation on a reliable connection can display more detail than an older tablet on a shared industrial network. The target environment therefore belongs in the learning brief. Define supported browsers, minimum screen size, input method, bandwidth expectations, security restrictions and whether the experience must work inside an LMS frame. Test the experience on representative devices rather than relying only on a developer machine.
Performance is managed through geometry reduction, compressed textures, progressive loading and limits on simultaneous effects. The goal is not maximum visual detail. It is enough verified detail to support the learning decision while maintaining a usable frame rate and acceptable loading time. Alternative media or a lower-detail path may be required for devices that cannot support the full experience.
Accessibility also needs an explicit route. Keyboard access, text alternatives, captions, readable labels and an equivalent way to obtain required information should be considered from the start. A visual interaction that cannot be made equivalent may require a documented supported alternative.
Browser-based 3D
- Uses existing supported devices
- Easy link or LMS access
- Good for spatial recognition and decisions
- Lower deployment and support burden
Headset VR
- Higher visual immersion
- Can support embodied interaction
- Requires hardware management and hygiene
- May be justified for presence-dependent practice
5. Track the task evidence, not every camera movement
The experience can record completion, assessment score and time through a suitable package and LMS. More detailed reporting can capture whether a component was located, which sequence was attempted, where an incorrect decision occurred and whether performance improved across attempts. The availability of each measure depends on the chosen technical architecture and reporting platform.
More events do not automatically mean better evidence. Camera rotations and zoom actions may be useful for usability analysis but rarely answer a readiness question. Report the smallest set of events that connects to the objective: correct identification, approved sequence, diagnostic decision, attempts and threshold. This makes the dashboard easier to interpret and reduces unnecessary data collection.
Keep the claim precise. A learner who identifies a component in the model has demonstrated digital recognition in that representation. A learner who completes a simulated sequence has demonstrated the sequence in the designed environment. Workplace sign-off must still verify the physical task where the role requires it.
6. Measure access, practice capacity and avoided disruption
The economic case commonly comes from access. Physical equipment may be unavailable during production, located at another site or too costly to reserve for introductory practice. Browser delivery can give more learners repeatable access before they reach the equipment. It may also reduce instructor time spent on basic orientation and allow practical sessions to focus on observation and coached performance.
Build the baseline from current values: learner travel, equipment downtime, instructor hours, waiting time, repeat sessions and the number of people who can practise in a period. Then record the 3D production and maintenance cost, device or platform cost, learner time and the practical training that remains. Do not count equipment downtime as saved unless the new process actually reduces it.
A positive learning result may justify the format even when cash savings are small, particularly where access or risk is the main constraint. State the outcome as capacity released, disruption avoided or performance improved before translating it into money.
Record the inputs
Current accessTravel + downtime + instructor + waiting
Digital costModel + interaction + platform + maintenance
Remaining practiceSupervised equipment time still required
Report the outcome
AccessLearners able to practise per period
ReadinessRecognition and sequence performance
OperationsVerified disruption or time avoided
Models introductory equipment-access time shifted to browser-based 3D. It does not remove practical sign-off or the supervised hours that must remain.
7. Pilot one equipment task and define the scale decision
Choose a bounded task with a clear spatial or procedural challenge: locate inspection points, identify components, practise an approved start-up sequence or diagnose one visible condition. Supply the approved technical reference and nominate a reviewer who can verify the model and interaction logic. Define the target device and deployment route before production.
Measure whether learners can complete the defined task, whether the experience works on representative devices and whether it changes the use of instructor or equipment time. Collect learner feedback about clarity and control, but do not use satisfaction as the primary success measure. The task result and operational measure should lead the decision.
- Scale when the reusable 3D model expands practice access and the task evidence supports the required claim.
- Revise when interface performance, model accuracy or device limitations obstruct the equipment task.
- Stop when annotated video, photographs or supervised demonstration achieve the same outcome more reliably.
Increase repeatable equipment practice without claiming to replace practical sign-off
A successful pilot proves that learners can complete one defined spatial or procedural task on supported devices and quantifies any verified reduction in access cost or disruption.
Bring one equipment task, the available technical references and the devices learners will use. We will define a browser-based pilot and its acceptance measures.
Request Demo